Pages

Showing posts with label Thrifty. Show all posts

Wednesday, April 13, 2011

Bath Time!

Back in August, we moved into our new house. I'm still slowly working on decorating...but I still have a long way to go. The upstairs has pretty much remained untouched for the most part, with the exception Bryson's play room that we painted a bright, fun green. I just can't make up my mind on what I want so I've just left everything alone until I can decide. I'll get there.....one day.
Anyways, one area that has been in major need of some "flare" is Bryson's bathroom. Sure, I got a cute shower curtain and some rugs but look at all that bare wall space! (There's a lot more that isn't shown in the picture)
Sooo I decided to make a little bit of wall art to hang up.  Bryson's favorite Bible story is Jonah and the Whale....and I figured a whale was a perfect theme for some bathroom art.
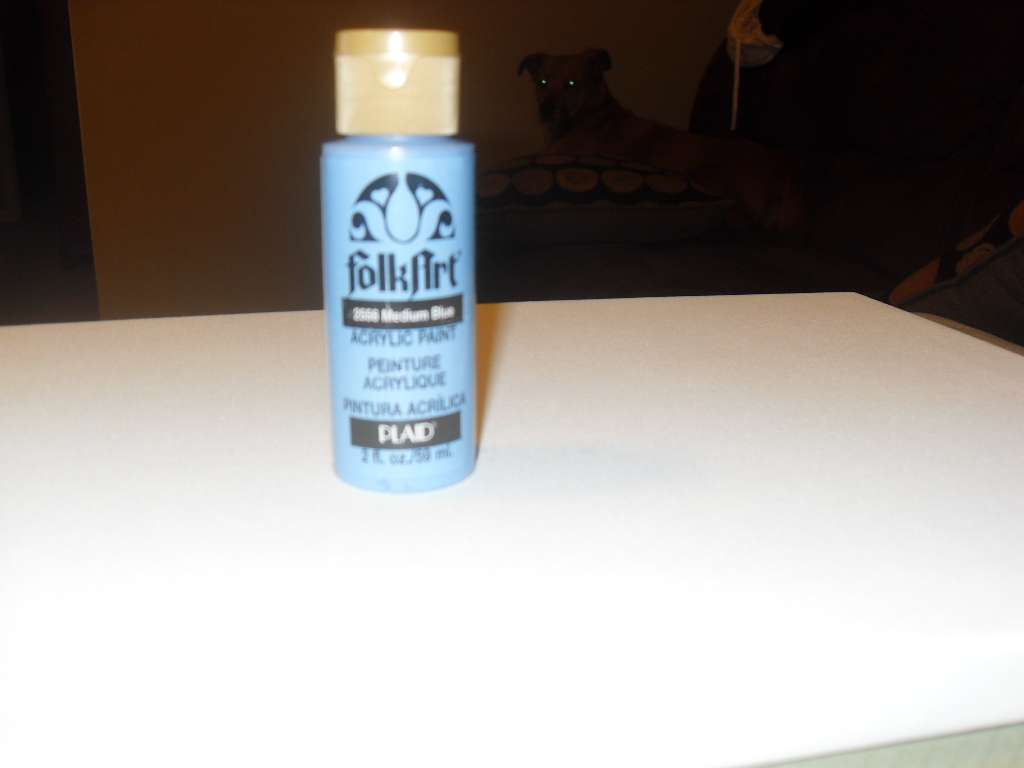
I had a canvas on hand, so I painted it in a fun, bright blue.


I drew my whale shape on some cute polka dot paper and used my Cricut machine to cut out the words "Bath Time".  After using some good ole Mod Podge to adhere my whale and my letters to the canvas, my project was complete!
 Now...I would take a picture of it hanging up in the bathroom buuuuuut I haven't hung it yet.  I'll get to it......eventually.


Saturday, March 5, 2011

Thrifty fun

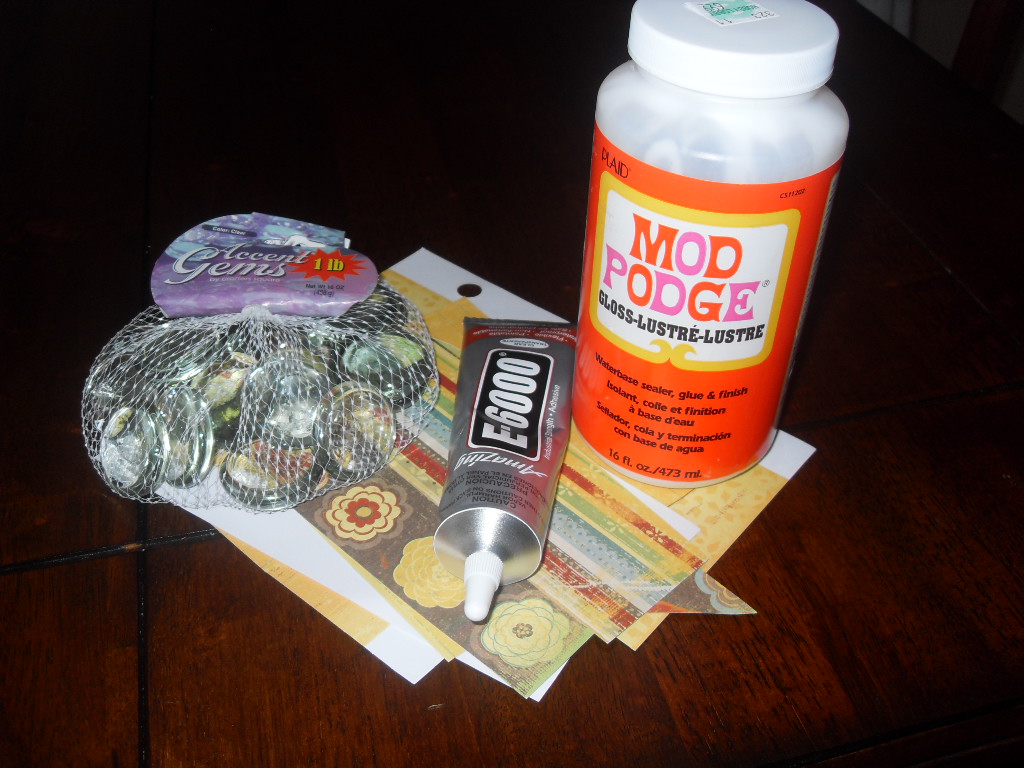
What can you do with some glass stones, scrap paper, mod podge, heavy duty glue and some spare magnets?

Create some cute magnets of course!
I'm sure everyone has seen this craft by now.  I was itching to do some sort of craft last night and I had a bag of "glass gems" ($1 at the Dollar Tree!) just waiting to be made into something.  I decided to make some cute magnets for myself....because who doesn't love a cute magnet?
This craft couldn't be easier or cheaper to do.  You simply Mod Podge paper onto the bottom of the stone and once dry, apply your magnet with some heavy duty glue.  I actually had a couple of spare magnets on the refrigerator that had broken off of something else so I didn't even have to buy magnets.
VOILA!

It never ceases to amaze me what you can make with things that are just lying around the house.
I'm going to try my hand at making some jewelry this week so I'm hoping that goes over well.  We shall see!

Wednesday, February 23, 2011

Easy, cheap, yet beautiful, gift.

Yaay! My first crafting post! Thanks for checking out my new blog.  I hope to post different projects on here at least once a week.  We'll see how that goes!
My good friend Erica had a birthday this past week, so I wanted to come up with a thrifty, unique, personalized gift for her.  I don't know about you, but it's always a difficult task for me to pick out my friend's presents.  Unless you have a lot of money to spend, it's always so hard to pick out something special that they may actually want or need!  I thought this year I would just MAKE her something special.
I've seen several different blog posts by different people on how to make homemade coasters.  Every one was done a little differently but the idea was generally the same.  It seemed easy enough so I figured I would give it a shot!
I bought 5 ceramic tiles from Lowes (16 cents a piece!), some cute scrapbook paper from Hobby Lobby (which I might add, was 50% off so I got that for about 25 cents a sheet), and I already had some Mod Podge and acrylic sealer on hand at home.
I traced my tiles onto the scrapbook paper and cut my paper slightly smaller than the tiles (so the paper wouldn't overlap).  Then I drew an E on the bottom corner of each tile using a brown crafting marker I had on hand.  I then sprayed each paper with an aerosol acrylic sealer, just in case the Mod Podge would make my marker run.
Once the papers were dry, I covered each tile with a nice coat of Mod Podge and slowly smoothed the paper on.  I let that dry and then brushed on a few coats of Mod Podge over the top (letting them dry completely between each coat).  When the Mod Podge was dry, I sprayed another coat of the acrylic spray on top just to seal it in.
Most people have used felt glued on the back of the tiles to prevent scratching furniture, however, I did not have any felt on hand.  I did have a large piece of brown foam paper though so I figured, why not use foam?  I cut a square out for each tile and hot glued the foam to the backs of the tiles....and VOILA!  You have a beautiful homemade gift!


I was really happy with how these turned out and I definitely plan on making more of these in the future.  It cost me less than $5 to make these!  That's what I'm talking about! I gotta make some for myself!
Well, thanks again for checking in!  Happy crafting!